Following are photos we’ve taken while making some of our favorite pumpkin carvings.
Carving pumpkins quickly became one of our annual traditions together, and we started documenting our pumpkin carving nights with photos year after year.
Pumpkin Seeds & All
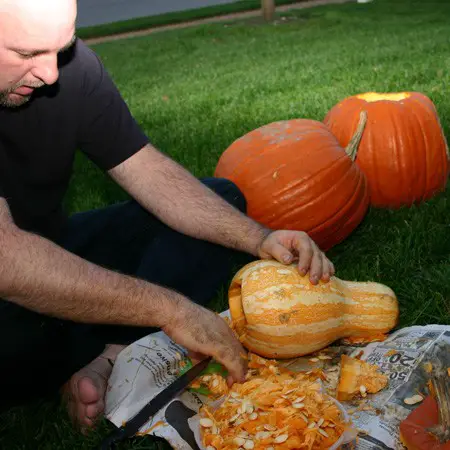
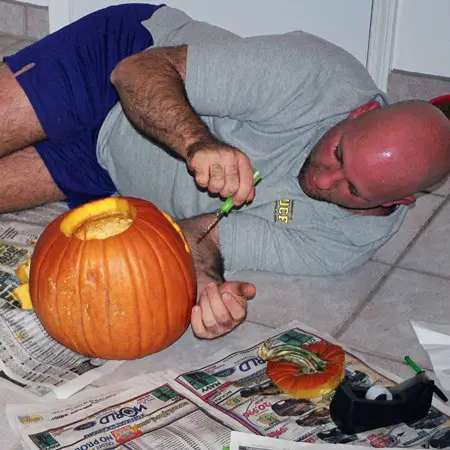
Jim beginning the process of carving pumpkins in 2004. He cuts the tops (or bottoms) off, scrapes out the insides, then washes them out with a hose. This year, we tried to carve some gourds for a change. They were a bit trickier to clean out — way up in the narrow top.
Pumpkin Seeds On A Newspaper
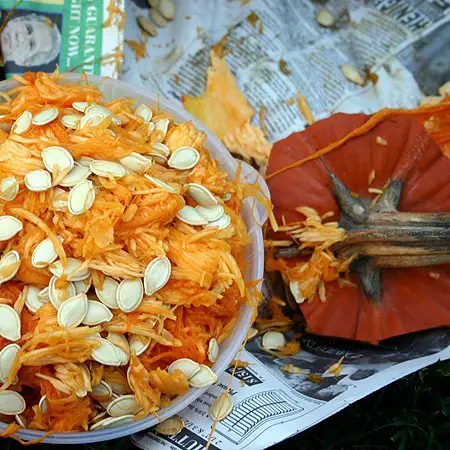
While photographing pumpkin guts, we managed to catch President Bush in amongst our Halloween garbage. (It was the height of the 2004 Presidential Election between Bush and Kerry.)
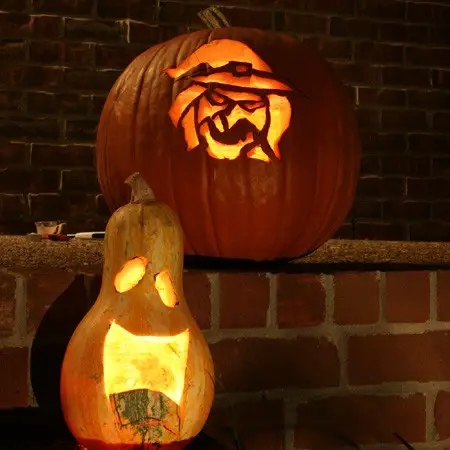
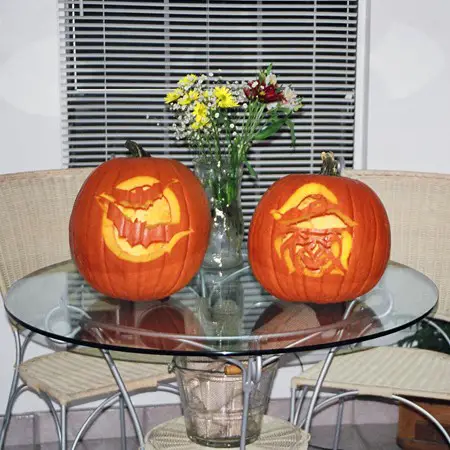
A Night of Ghosts & Goblins
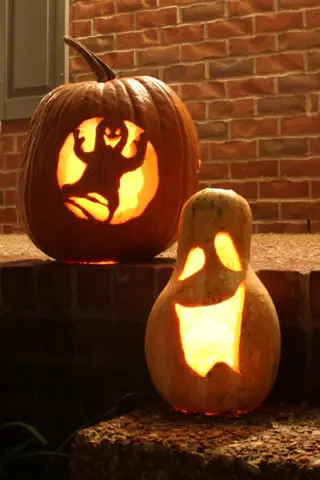
Here’s our old standby Ghost carving, along with our new happy face goblin gourd.
It Was A Bubbly, Happy Night
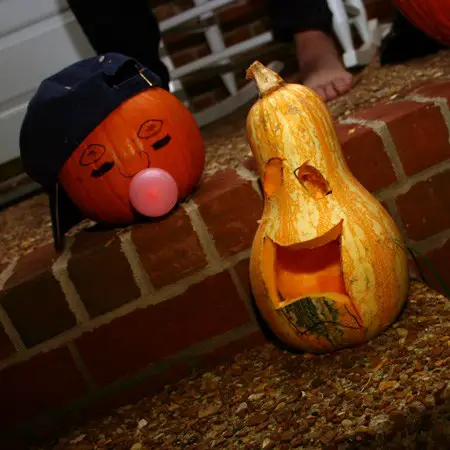
Two of our newest carvings for this year were:
- The baseball hat wearing bubble-blowing tiny pumpkin
- The happy faces gourds
All the little neighborhood kids loved the bubble-blowing baseball player. And all the parents loved the idea of carving different gourds.
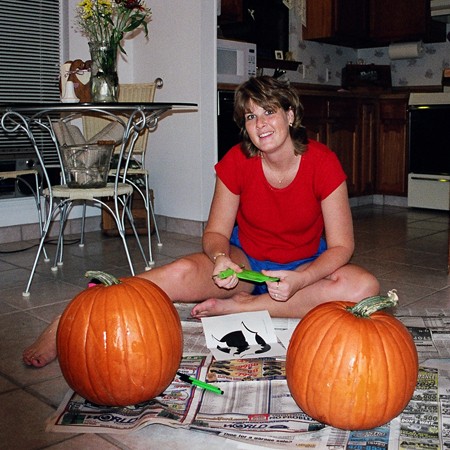
Carving Out Some Fun

We started out by carving the traditional big orange pumpkins using our old standby templates: a Ghost and a Witch. I quickly got bored with that and switched to carving gourds and baseball players.
Witchy Woman
We used our old standby Witch template, and then freehand carved funny faces on the individual gourds. You can see we cut the happy face too deep at first. We used toothpicks to hold that section back in place.
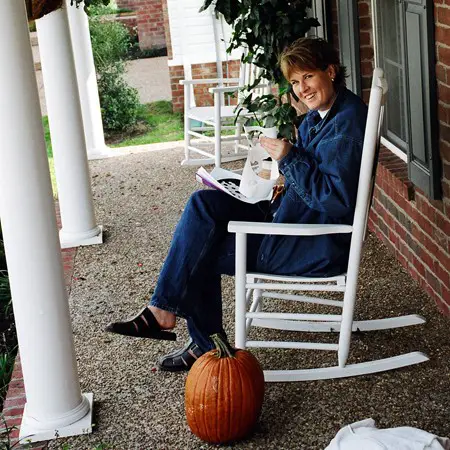
Sitting Pretty On The Porch
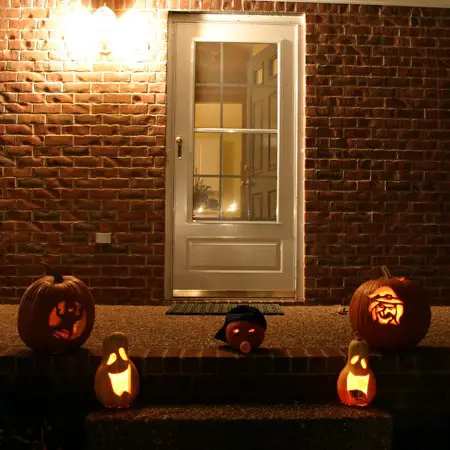
Here’s the entire family of pumpkins and gourds that we carved this year. Even though we waited ’til the last minute again, it was fun. And, we enjoyed hearing everyone’s comments about our carvings as they arrived trick-or-treating. If you’d like to try to carve any of these pumpkins yourself, here are the directions for how we made each one.
That Takes A Lot Of Guts
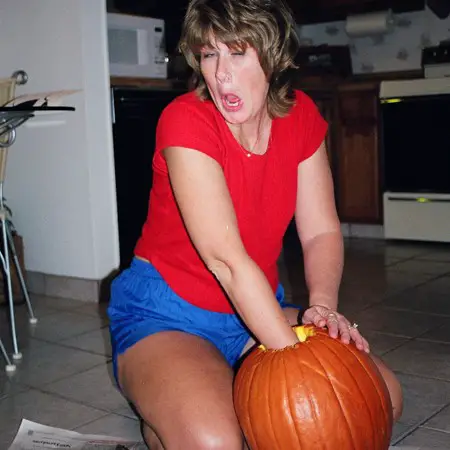
This was our first Halloween together, and the first tradition we started as a couple — carving pumpkins. Here are the steps we use to carve pumpkins.
Gutting It
The first pumpkin Jim carved during our first annual pumpkin carving fest.
Tools Of The Trade
We bought a pumpkin carving kit at the grocery store that had all the tools we needed to carve some great jack-o-lanterns.
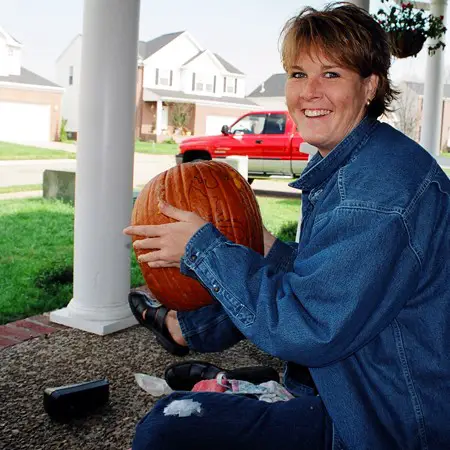
Carving Out Some Good Times
Since this was the first time we carved pumpkins together, we actually intended to go the whole route and roast all the pumpkin seeds too. It wasn’t until the next year taht decided to try roasting the pumpkin seeds!
The Finished Product
We were like a couple of Pumpkin Picassos on our first Halloween together. Here is the finished product of our work.
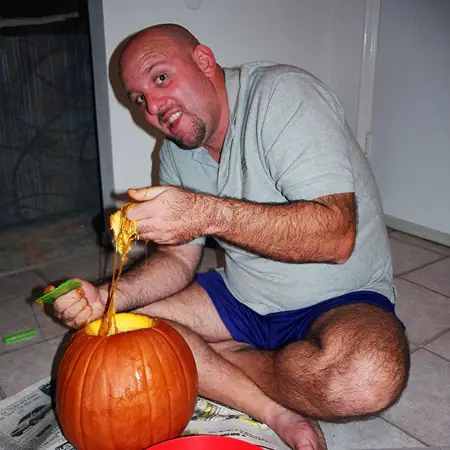
Jim’s Got His Hands Full

Jim always gets the messy job of cleaning and gutting the pumpkins we choose to carve each year.
Washing Four Pumpkins Prior To Carving
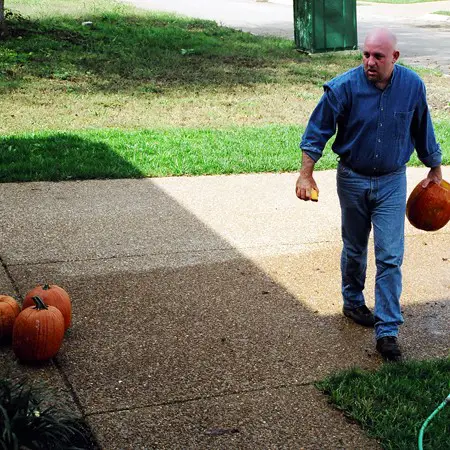
Jim’s using the hose to rinse off the outside and clean out the inside of the pumpkins we’ve decided to carve this year.
Cutting Out Pumpkin Carving Templates
I tend to focus more on the detail work — such as deciding which pictures to carve on the different pumpkins and cutting out the individual templates.
Placing A Halloween Template On The Pumpkin
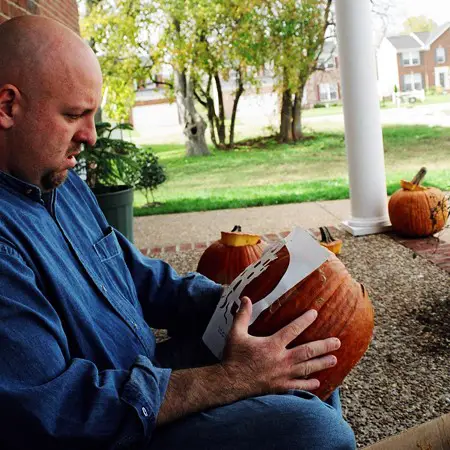
You have to place your template just right or the image you carve will be crooked. Been there, done that.
A Ghost Sketched On A Pumpkin
I used the pumpkin carving template to sketch a ghost on this pumpkin — using a Sharpie marker.
Carving Pumpkins On The Front Porch
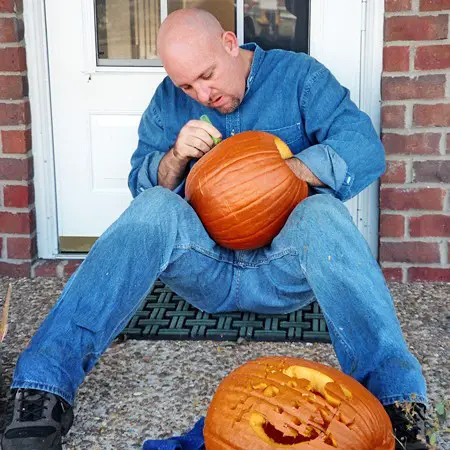
Finally… it’s cuttin’ time!

If there is ONE thing I like… it's C H A N G E! The four seasons and major holidays are my favorite times of the year to recharge — and redecorate. I mostly like to share frugal DIY ideas for seasonal home decorating and party planning (for both, indoors and outside). Because who doesn't enjoy entertaining at home?! But even if you don't host many parties, I think you'll appreciate my DIY hacks and clever ways to decorate your house for the major holidays including Halloween, Thanksgiving, Christmas. Because those are the times when people tend to have the most visitors and overnight houseguests.