Thanksgiving is a time of celebration for families. It’s when we all get together to give thanks for blessings received.
Kids love to be part of the holiday preparations, and kids love crafts — like this one:

Here are some fun Thanksgiving crafts that you can make with your kids…
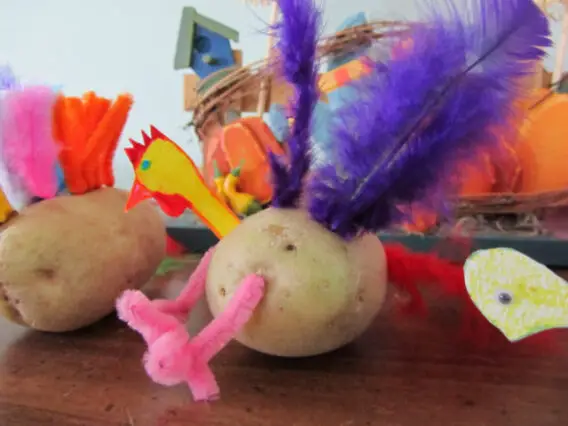
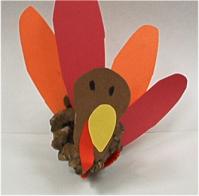
 Pinecone Turkey
Take your children for a nature walk to collect pine cones. While they can also be purchased in craft stores, it’s more fun to go out and find them yourself.
Place pinecones in a brown paper bag and microwave for one minute. This kills any insects or larvae that are living in the pine cones.
What you need:
- Newspaper to cover your work area
- Orange and white felt
- 1 styrofoam ball for each turkey
- Autumn colored construction paper
- White glue
- Red pipe cleaner
- Paintbrush
- Brown paint
How to do it:
Draw feathers on Autumn-colored construction paper
- Help your child cut them out
- Glue feathers to large end of pinecone, creating a fan shape
- Have child paint the styrofoam ball brown
- Allow paint to dry thoroughly
- Glue the styrofoam ball to the small end of a pinecone (push the pinecone into the styrofoam ball to ensure it is stable)
- Cut turkey’s eyes out of white felt
- Cut turkey’s beak out of orange felt
- Glue beak and eyes in place
- Use red pipe cleaners to form wattle
- Glue wattle in place under turkey’s beak
TIP: Each child can decorate their place at the Thanksgiving table with their own pinecone turkey. If guests are bringing their children, make a pinecone turkey for each child.
Related:
![]() How To Cut Out Pinecone Turkey Feathers (video)
How To Cut Out Pinecone Turkey Feathers (video)
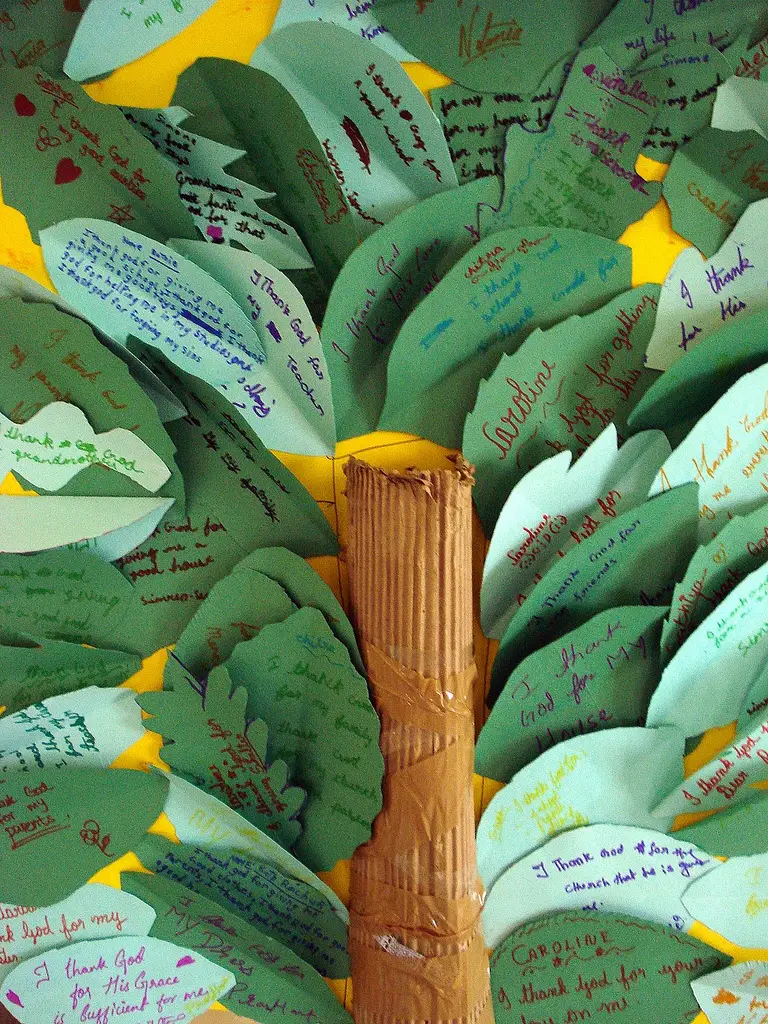
Thanksgiving Tree Poster
Thanksgiving is a historical holiday. As we all know, the pilgrims celebrated the first Thanksgiving to give thanks for a bountiful harvest. It’s great to share this history with kids and teach them to be thankful. With this project, you can help little ones create a Thanksgiving tree poster to show others what they are thankful for. This is a tradition in our family that has been a hit since I was young.
What you need:
- 12″ x 20″ piece of cardboard
- Blue and green tempra paint
- Paintbrush
- Autumn-colored construction paper
- Scissors
- White glue
- Colored pencils or markers
How to do it:
Have children paint the top half of the cardboard blue for the sky and the bottom half green for the grass
- Allow to dry thoroughly
- Draw leaf shapes on Autumn-colored construction paper
- Help child cut them out
- Once the painted cardboard is dry, have child draw a tree and branches with the colored pencils or markers
- If desired, children can draw animals, flowers and a stream around the tree. (My oldest grandson was the first in our family to do this and he created his own little world.)
- Have the child tell you what he is thankful for
- Help him print each thing on one of the leaves
- Let child glue the leaves on the branches of the tree
- Hang the Thanksgiving tree poster in a place where it will be seen by your Thanksgiving guests
Related:
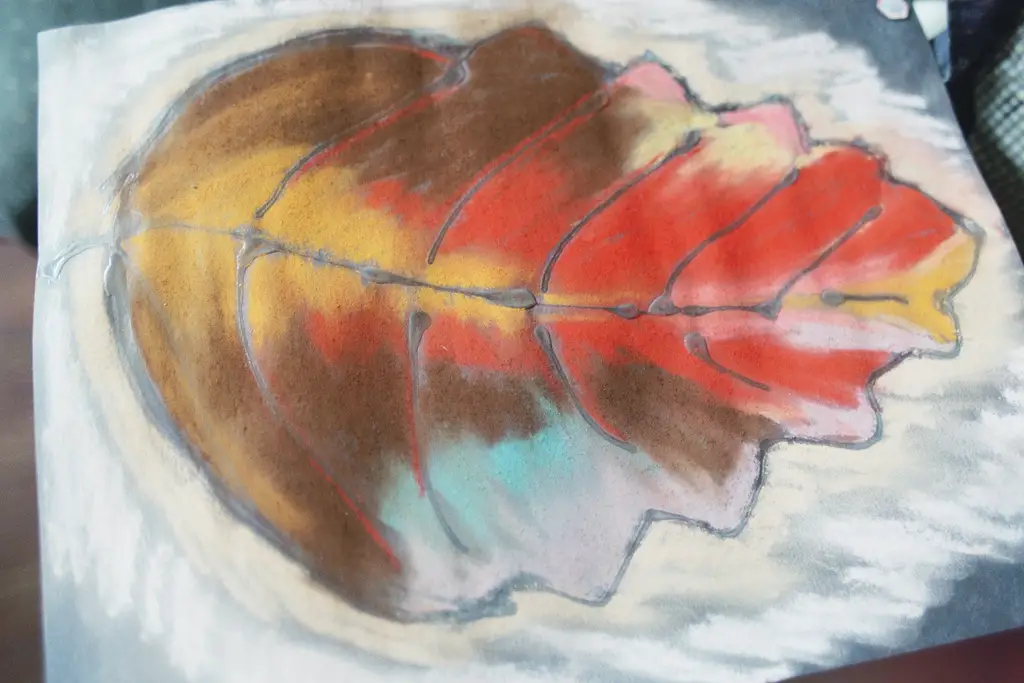
Autumn Leaf Placemats
When I was in elementary school, the teacher taught our class how to make Autumn leaf placemats. Back then, they were made with wax paper. Today, there are easier ways to make leaf placemats.
When my daughter was young, I taught her how to make an Autumn leaf placemat and then a few years ago, I did this with my grandsons. They still have their Autumn leaf placemats and use them each year for Thanksgiving dinner.
What you need:
- 1 sheet of black construction paper
- Colored chalk
- White glue
- 2 sheets of contact paper 9.5″ x 12″
How to do it:
Make the outline of a large leaf on the black construction paper with white glue
- Allow to dry thoroughly
- Have child use the colored chalk to color the inside of the leaf
- If desired, use white chalk to color in the background around the leaf
- Lay one sheet of contact paper on the table with the sticky side up
- Center the sheet of black construction paper on top of the contact paper
- Place the second sheet of contact paper sticky side down on top of the first piece. Your art will be in between the 2 sheets
- Remove all air bubbles with the palm of your hand
TIP: Instead of using contact paper, you could take your child’s Autumn leaf chalk drawing and have it laminated.
Related:
![]() How To Make Fall Leaf Placemats
How To Make Fall Leaf Placemats
I love writing about almost anything, especially my life experiences. Other favorite things to write are how-tos, household hints, nature and fishing articles, among others.