 One of my favorite things about Halloween is decorating.
There are a lot of great ways to make your own fun decorations.
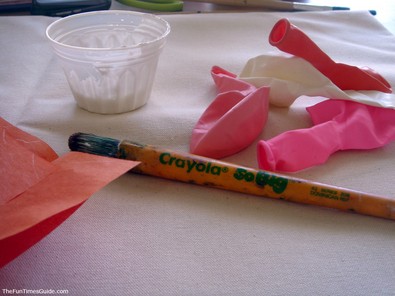
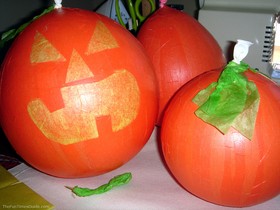
These paper-mache pumpkins are easy to make and use just a few materials.
They are especially good for little ones who are not quite ready for pumpkin carving yet.
Now they can get in on the Halloween decorating fun too!
What You Need:
- Balloons
- Orange tissue paper
- Yellow tissue paper
- Paint brush
- White glue
Don’t forget to cover your work area to avoid messy spills!
How To Make Paper Mache Pumpkins
1. First, inflate the balloons. You will need one balloon for each pumpkin. Think about using some variety in the sizes – some big and some small – if you plan to make more than one.
2. Now, make a mixture of glue and water and mix it up using your paintbrush. Because you are using the paintbrush with glue, use a cheap one. You don’t want to ruin a good brush by using it in glue! When mixing the glue and water, what you want is a thick milky consistency. If it’s too thin, it won’t hold the tissue paper.
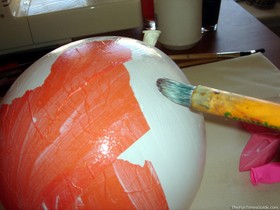 3. Brush some of the glue mixture onto the balloon. Rip some of the orange tissue paper into strips and place it over the glue. Brush more of the glue over the paper, pressing the tissue down onto the balloon as you go.
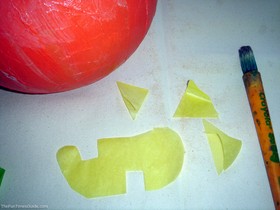
4. Cover the entire balloon with the orange tissue in this manner. Remember that layering the paper will make it stronger. Once you’ve covered the balloon, let it dry.
5. While the glue is drying, cut out facial features for your jack o’lantern from the yellow tissue paper. Your imagination is your only limit here. It can be scary, funny, sad – anything you want it to be! You can also make designs or spooky pictures of ghosts or bats instead of a face if you like – it’s all up to you!
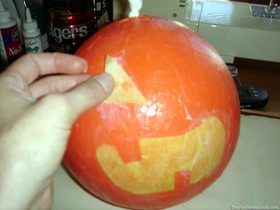 6. Once the orange tissue paper has dried on the balloon, glue the yellow tissue paper that you just cut out onto the pumpkin in the same way as before. You may want to use several layers of the yellow paper to help it stand out better. If you like, you can use acrylic or tempera to paint on the features instead.
Now that you have your paper mache pumpkins, the only thing left to do is arrange them artfully on your porch!
I used some fishing line to string mine up on our balcony – they’re ready to greet all the trick-or-treaters on Halloween night!

