I’ll be honest, I never even tried banana pudding until my 30’s. I always envisioned that it would taste like baby food… yuck!
But after trying banana pudding at a Chinese buffet, I immediately became addicted to this sweet-tasting dessert that is soooooo easy to make.
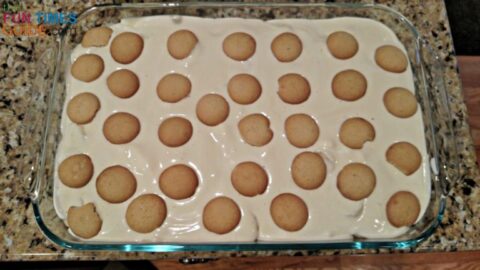
The texture of this homemade banana pudding recipe is perfect — with just the right amount of crunch (from the Vanilla Wafers) and just the right amount of sweetness (from the Cool Whip and the Bananas).
Here’s my favorite recipe for banana pudding…
Easiest Homemade Banana Pudding Recipe
This is my favorite way to make a large batch of homemade banana pudding. It’s super simple and super quick to make!
(Just 10 minutes to make, and 1 hour to let it firm up in the refrigerator.)
Ingredients:
- 1 package (1.5 ounce) Instant Vanilla Pudding Mix (I use sugar free)
- 2 cups Milk – very cold
- 1 can (14 ounce) Sweetened Condensed Milk
- 1 tablespoon Vanilla Extract
- 1 container (16 ounce) Frozen Whipped Topping – thawed (I use LITE Cool Whip or any store brand)
- 1/3 of a package (16 ounce) Vanilla Wafers Mini’s
- 3 to 4 bananas – sliced
Directions:
- In a very large bowl, mix the Pudding Mix and the Milk for 2 minutes (using an electric mixer).
- Blend in the Condensed Milk until smooth.
- Stir in Vanilla.
- Fold in the Whipped Topping. (If you forgot to thaw it, you can put in microwave on the lowest power level for almost 1 minute.)
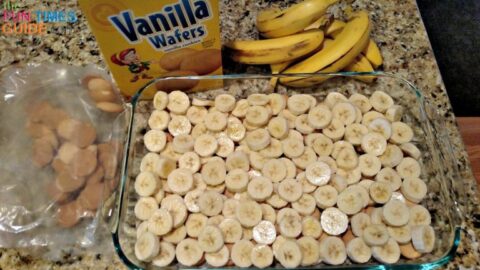
- In a 9×13 glass serving dish, layer bananas.
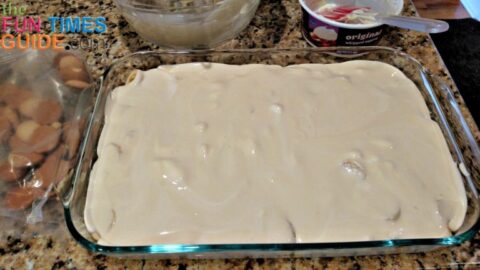
- Add the pudding mixture on top.
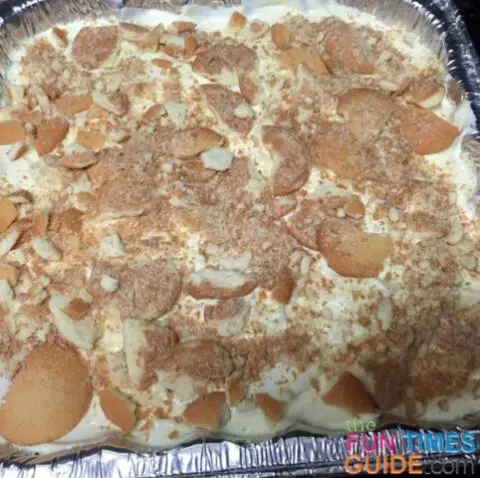
- Add some finely crushed wafers (or whole ones, your choice) on top. TIP: I used to start this recipe with a layer of whole wafers on the very bottom of the pan, but they got soggy too quickly. So now I just crush some up and put them on top.
- Chill until serving time – at least 1 hour.
Variation: Banana Pudding Cups
We normally keep the big deep dish pan of banana pudding in the fridge, and hubby & I just scoop out as much as we want, whenever we want.
But I’ve promised my friend — who happens to like Cinnamon on his banana pudding — that I’d make little individual banana pudding cups someday soon and invite him to try it.
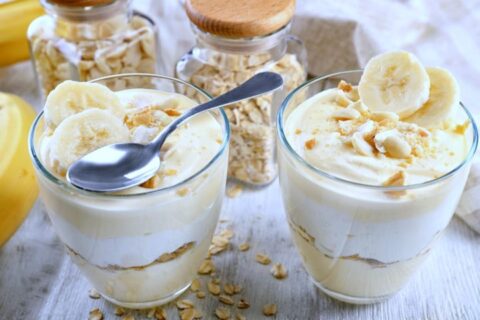
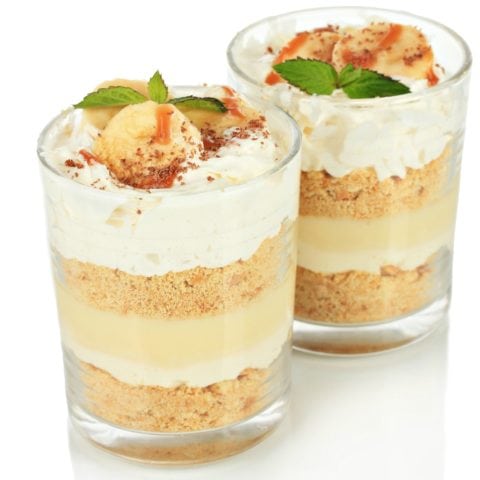
Basically, I could just divvy up my same recipe into lots of small plastic containers and glass cups (instead of keeping it in the deep dish pan). The banana pudding cups will take up more space in the fridge, but it’s a great way to serve banana pudding at a party or whenever guests are visiting!
My initial plans are to experiment by making the banana pudding cups a couple of different ways:
- Mix up the Pudding & Condensed Milk separately from the Frozen Whipped Cream. Start by dishing out each of those as 2 separate “layers” inside the cups. Top that with a layer of finely crushed Vanilla Wafers. Follow that with 2 more layers of the Pudding & Condensed Milk and the Frozen Whipped Cream. Finally, top that with a handful of Banana slices and sprinkles of Cinnamon.
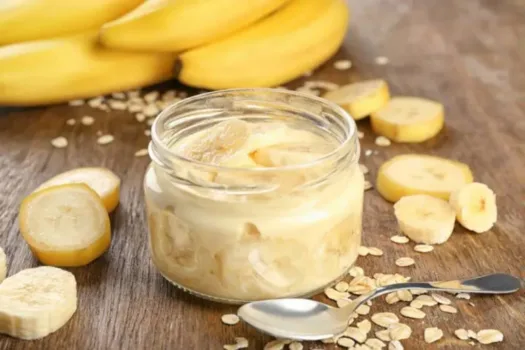
- Mix up my normal banana pudding recipe, as is. Then starting the layering process with a bunch of finely crushed Vanilla Wafers on the bottom, followed by a thick layer of the Banana Pudding mixture, a couple of Banana slices, and some Cinnamon.

