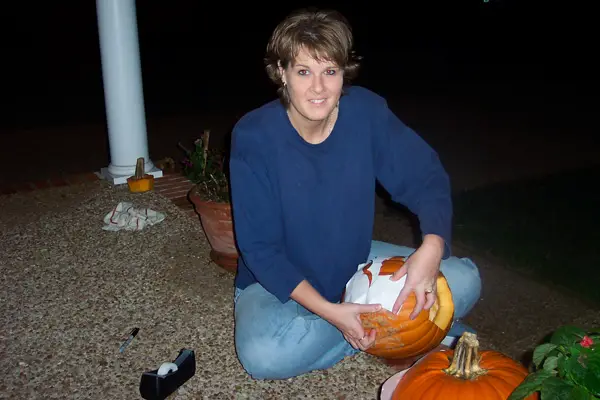
 Each year, we’re like a couple of “pumpkin picassos” carving Halloween pumpkins out on our porch …usually right up until the moment that the trick-or-treaters begin arriving!
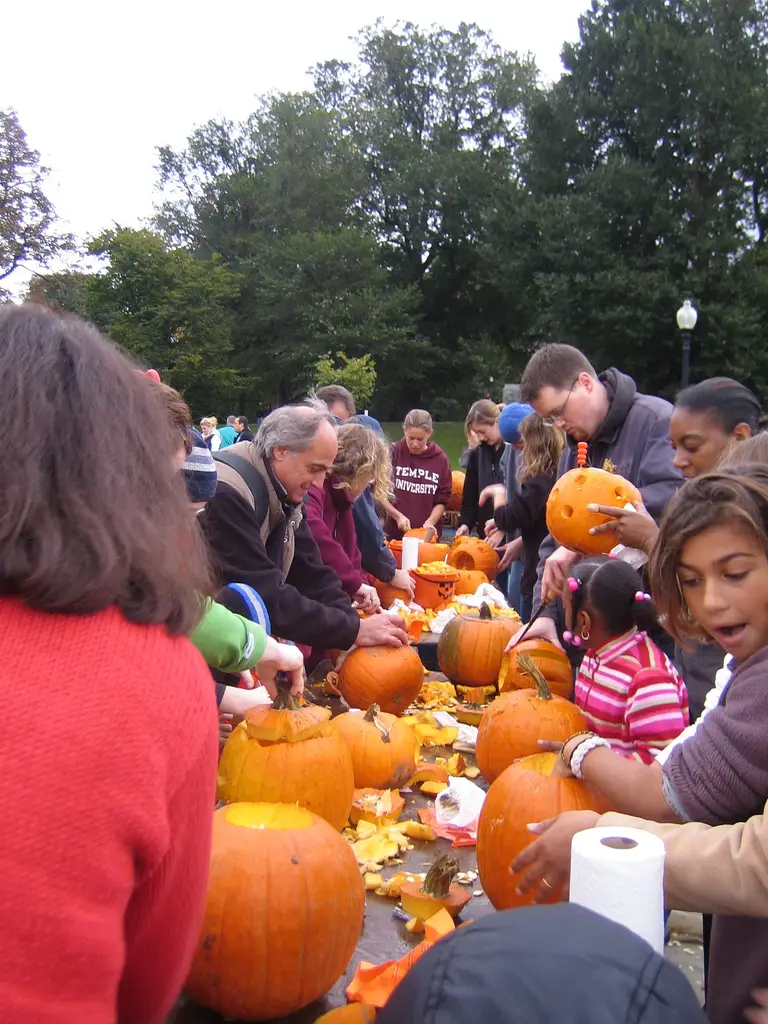
Carving pumpkins has been an annual tradition that we’ve stuck to since our very first Halloween together.
Here is, step-by-step, how we document the annual ritual of turning an ordinary pumpkin into a jack-o-lantern:
#1. Gather your tools of the trade. What you’ll need: large pumpkin (with at least a 2-inch stem), tracing templates, Sharpie marker, tape, cutters, scrapers, newspapers.
#2. Cut out the top. To make the “perfect” lid for your pumpkin, cut a six-sided “notched” lid and carve at an angle toward the pumpkin’s center, so the outside diameter is slightly larger than the inside diameter. This creates a “ledge” to prevent the top from falling in when the pumpkin starts to shrink. Plus, a notched lid (or star-shape) makes it easier to fit the piece back on snugly.

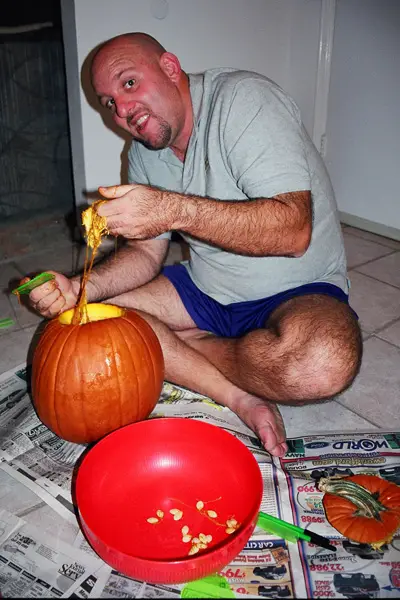
#3. Scrape out the inside. After you scrape out all the goop, seeds, and slime, remember that the thinner the wall, the easier it will be to carve and the brighter your light will glow from the inside.
#4. Transfer the pattern. Most patterns are made such that, when you print them out onto white paper, you can use tiny scissors to cut out the “white” parts of the pattern, leaving you with the black lines that create the actual design. Once the “white” parts are gone, you simply tape the piece of paper to the flattest side of your pumpkin, then use a Sharpie marker to outline or trace all of the individual sections that will ultimately create your finished design.
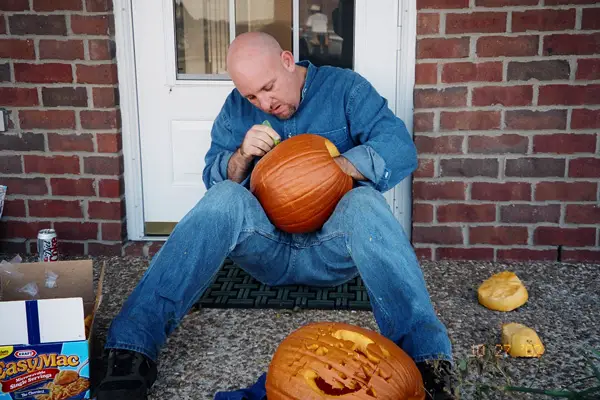
#5. Carve! It’s easiest when you use an actual pumpkin carving knife (that comes in most “pumpkin carving kits”). Regular knives are too big and clumsy to carve out such fine details. The best part about pumpkin carving knives: you just keep poking them “in and out” along the lines that you traced onto your pumpkin. It’s much easier than it sounds.
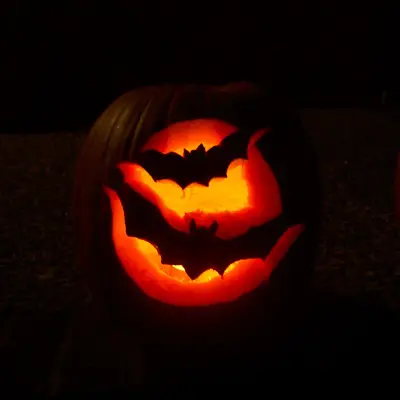
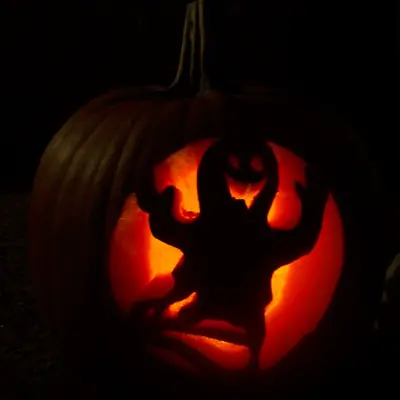
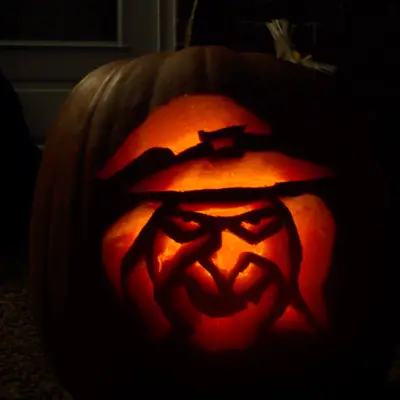
TIP: The most dramatic effects are created by letting light shine through the pumpkin wall in varying degrees of intensity. To create a “dimensional” effect, don’t cut all the way through the pumpkin along the outermost edges of your pattern, but make shallow, angled cuts toward the center of the pumpkin instead.
This video shows how to pick the right pumpkin for carving: