My baby just turned 1 and I turned 40. To celebrate, we hosted a “First and Fortymost” birthday party with a DIY cupcake station dessert bar.
After I turned 30, I stopped getting excited about having another birthday. Now, because I’m a first-time mom, it’s easy to get excited about a birthday party — and all of the future ones ahead!
My baby and I will more than likely celebrate our birthdays separately in years to come, but this first year we combined the celebration.
SIDENOTE: My baby and I don’t share a birthday, but our birthdays are only 3 days apart. As fate would have it, my mom and I share the same sort of close proximity of birthdays with our children — because my older brother’s birthday is also 3 days after my mom’s birthday!
Planning for our First and Fortymost event was fun and required a team-family effort — but we really wanted it to be an evening of family, fellowship, and friendship.
We decided to host a small party inviting immediate family and a few close friends to our family estate outside of Nashville (which is also a VRBO).
To keep it simple, we ordered some catering from Olive Garden and put the food into chafing dishes.
TIP: Not only does Olive Garden deliver, but they also provide the plates and utensils. It’s a great way to feed a large group of people because they offer a “create your own pasta station”.
We added a couple of Subway platters — just for a little extra variety.
For dessert, we had a “Pimp Your Cupcake” station, allowing guests to decorate their own cupcakes.
It was a big hit!
Here’s how to create a DIY cupcake station dessert bar…
DIY Cupcake Station Necessities

#1 – Cake mix and cupcake liners
I made 3 different types of cupcakes and let guests choose their favorite flavor:
We had a blue theme for our birthday party, so I used blue foil cupcake liners.
#2 – Icing and icing pipers
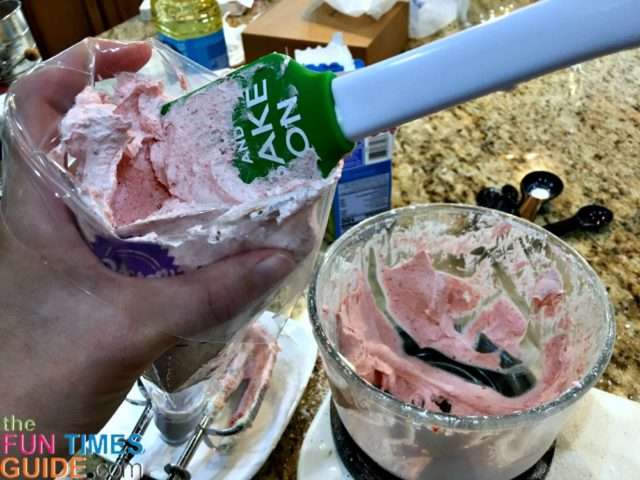
I whipped up 3 different buttercream icing flavors:
- Vanilla
- Chocolate
- Strawberry
Here is the most amazing buttercream frosting recipe I found for all 3 of those flavors!
I also used the Wilton disposable icing bags with couplers and decorative icing tips.
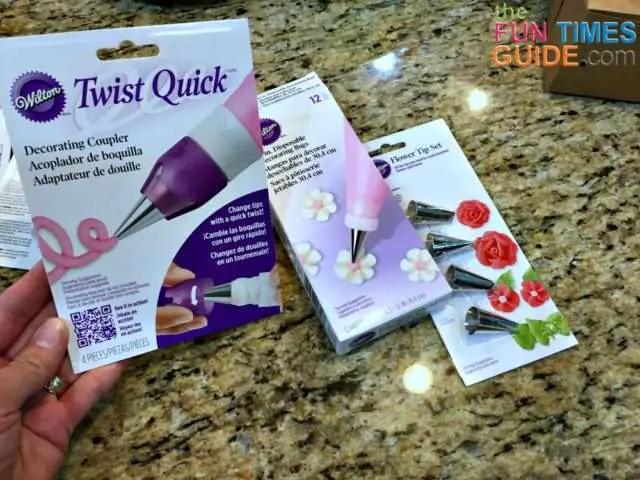
TIP: I recommend using extra-large icing tips for a cupcake station — because average people don’t typically have much experience decorating cupcakes, and larger tips make it easier.
#3 – Sprinkles & toppings
We decided on a few different toppings for our cupcake station:
- Nutter Butter bites
- Blue sprinkles
- Mini Oreos
- Sour jelly beans
- Milk chocolate shavings
- Blue sugar pearls
- Sunkist strawberry fruit chips
- Mini peanut butter cups

TIP: If you are going to crush cookies which have icing inside them, put them in the fridge before crushing them! Having the cookies cold keeps the icing and cookies from mushing together. We ended up making the cookie toppings by placing them in a Ziploc bag first, and then gently crushing them with a hammer.
#4 – Glasses, vases, shot glasses, and trays of various heights, depths & sizes
You will use these to hold the cupcake toppings and to make 2-tiered cupcake platters.
The Dollar Tree store had all the items we needed for our DIY cupcake station.
We used a couple of glass tapered candle holders and long-stem candle holders to vary the heights of the dishes and trays.


We simply glued the different candle holders to a tray (or a glass) to make our own unique candy/topping dishes.
We added some colored glass rocks of varying blue colors into the candle holder portion to incorporate small touches of our color theme. What I love about Dollar Tree is every item is $1 (or less!) — so it helps you stay on budget when you’re looking for items to make a creative display.
I made simple cupcake stands using 2 different sizes of fake silver platters (also from Dollar Tree) and a glass candlestick.
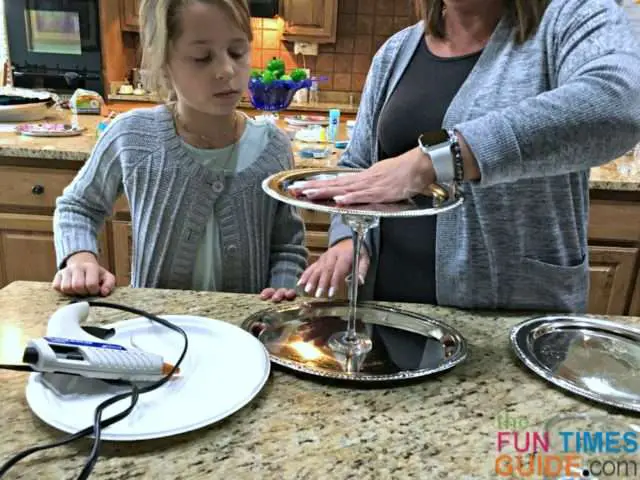

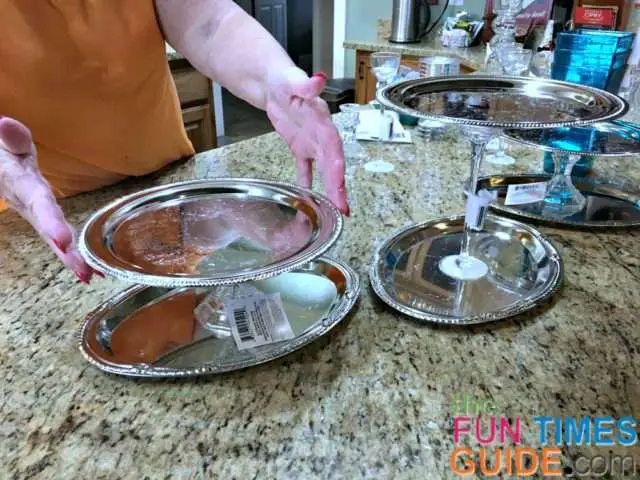
I used a larger oval platter as the bottom tier, glued the candlestick in the center, and then used a smaller round platter as the top tier.
#5 – Blank banner tags (or pennant letters) and ribbon
We used the blank tags and ribbon to spell out “PIMP YOUR CUPCAKE” to identify the dessert bar / cupcake station area. (My sweet sister-in-law and niece helped with the creative setup of the display.)

#6 – Little mini serving spoons
You’ll want to use tiny spoons to dish out the toppings at your dessert bar.

#7 – Small serving plates and napkins
Guests will place their cupcake creations on these.

The Bottom Line…

Our cupcake station was a huge success! The guests really enjoyed decorating their own cupcakes with all the different icings, toppings, and sprinkles. Obviously, the younger children really loved it… but the adults were having fun with it too.
If you are thinking of trying a DIY cupcake station, start by browsing Pinterest or Google Images first — to get your creative juices flowing. In the end, your dessert bar display can be as simple or as elaborate as you choose.
I think the cupcake/dessert bar is a great way to have a unique dessert for your guests to enjoy on any occasion!